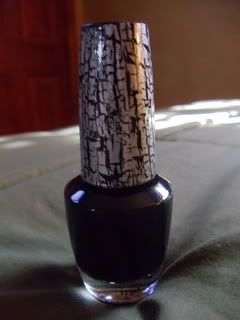
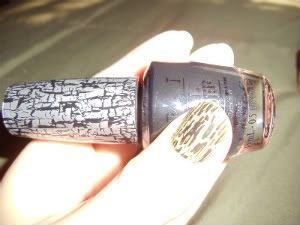
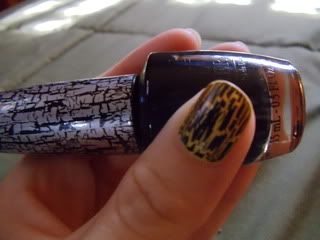
A couple of months ago I was finally able to get this nail polish. As many of you might have noticed . It was really hard to find . So when I got it I was pretty excited to try it to be able to do a review on it. This is my first review on my blog. In fact this is my first post ever!!!!!!
Without further ado here is my review of the OPI BLACK SHATTER:
Thinking about this review I wanted to answer common questions and things I would like to know about the polish before buying it.
I tested the polish over a week period with no clear top coat and no base coat.
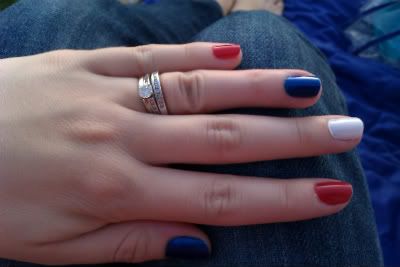
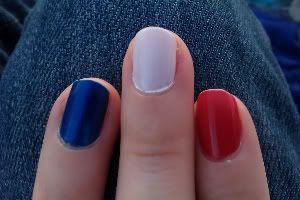
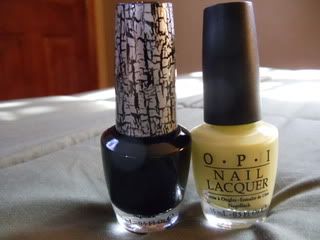
I first applied 3 coats of the “base” color. I chose OPI’s Ficerly Fiona and then applied 1 thin coat of OPI’s Shatter. (make sure than when you apply the shatter you only do one coat. Try not to go over the area which already has the shatter). Going over the shattered areas cause the effect to change. The shatter will cover a good chunk of your nail instead of having more defined and smaller cracks.
You can feel the texture of the cracks after the polish dries which adds more to the effect.
You can always add a top coat to smooth out the nail if you do not like texture on them.
The polish dries almost instantly so it is important to apply as fast as possible making sure the nail polish bottle is not exposed too much since the polish left on the “rim” of the bottle will dry up.
Also, clean the bottle head after each use to prevent the lid or top of the polish to get closed shut. If this happens, just place the closed bottle upside down in a cup of warm water (not boiling) and hold it for a few seconds.
Dry bottle and open. Do not leave polish unattended in warm water since this can cause the texture of polish to change.
I found that the easiest and quickest way to apply the polish evenly is to do it in a vertical motion. I tried vertically, horizontally and even inclined. They all give a different effect to the nail.
My Results:
The first three days both polishes were fine. After the 4th day I started to notice that at the top of the nail the polish was starting to chip (fade). After a week of wear some nails had noticeable chipping and some stayed the same.
Overall I think the OPI shatter is a great polish that can help you create fun nails. You can create many designs with it and mix it with almost any color you can think of! It's up to you. You won't be bored and people will definately have something to say about your nails.
FTC disclaimer: I bought the OPI Shatter with my money at Amazon.com, no one is compensating me for this review and these are only my opinions.
If you have any questions or want to share about your experiences with this polish or have any suggestions don't forget to comment.
Carmen
